
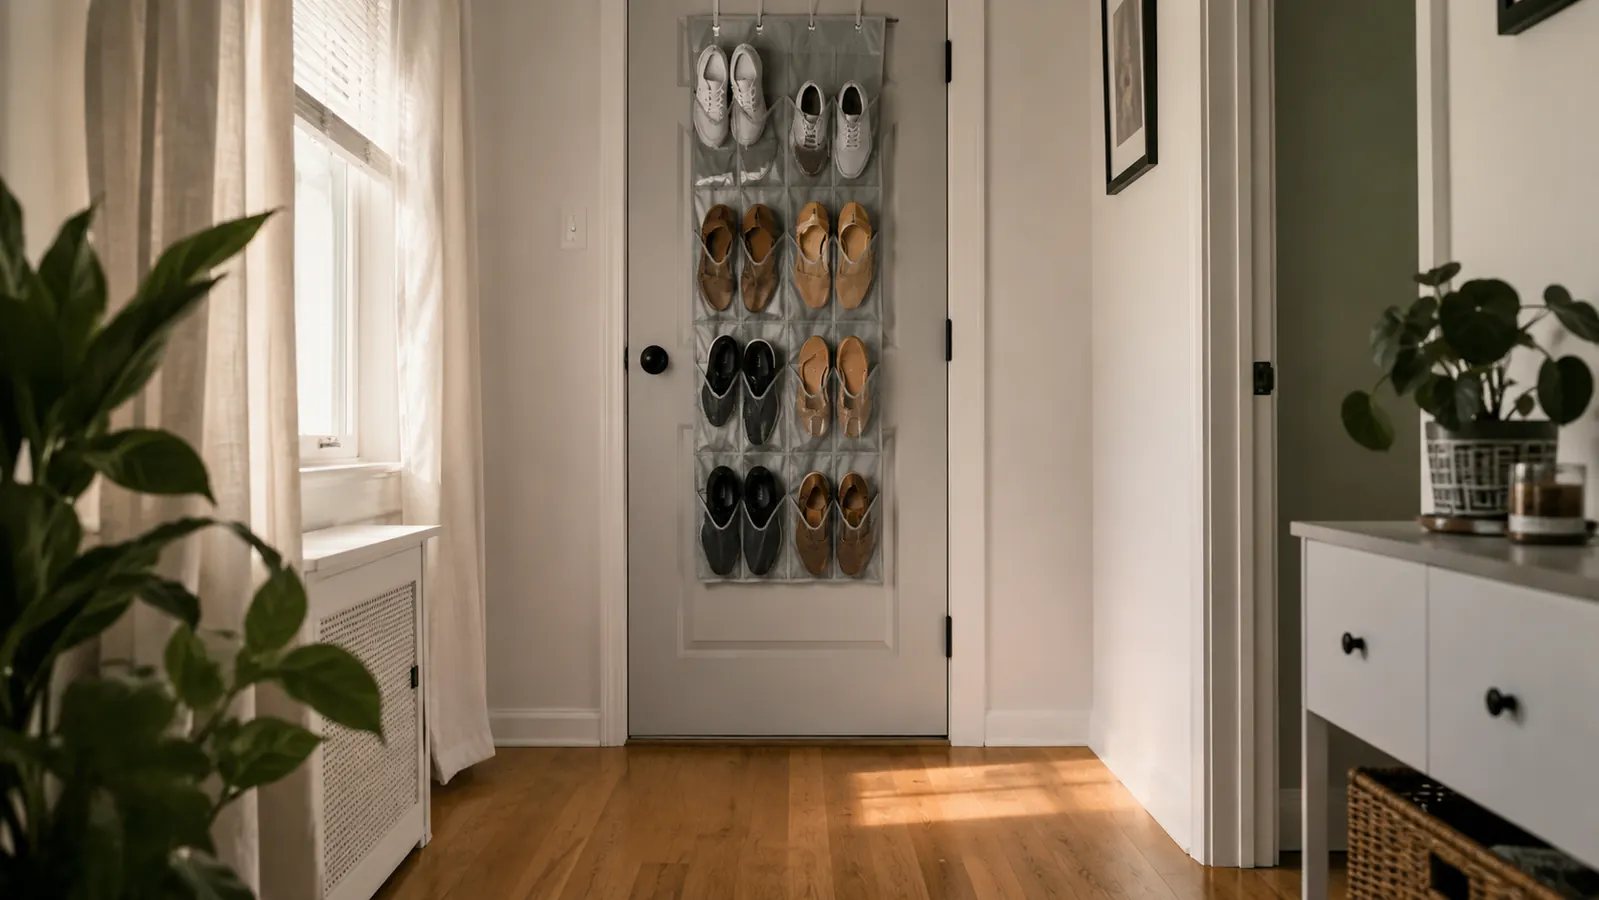
My third apartment had a four-foot entryway and two people who both worked jobs that required different shoes. By week three we had a sneaker pile that a guest once described as 'a shoe store after an earthquake.' We tried a floor rack. We tried a bench with cubbies. Both ate floor space we did not have. The fix that finally stuck cost less than eleven dollars and hangs on the back of the closet door: the Amazon Basics 24-pocket over-the-door shoe organizer.
This guide covers the whole process: auditing what you actually wear, picking the right door, confirming the organizer fits, hanging it correctly so it does not swing and scratch the paint, loading it sensibly, and building the two-second habit that keeps the pile from coming back. It takes about forty-five minutes start to finish. No tools required, no holes in the wall, and fully reversible if you rent.
Your entryway floor is six inches away from being clear
The Amazon Basics 24-pocket over-door organizer is the fastest renter-friendly fix for a chronic shoe pile. Under eleven dollars, installs in two minutes, fits standard hollow-core doors.
Amazon Check Today's Price on Amazon →Step 1: Do a Ten-Minute Shoe Audit Before You Hang Anything
Gather every pair of shoes from the entryway pile, the bedroom floor, the closet floor, and anywhere else they have migrated. Line them up in a single row. Count them. Most people in a two-person apartment have between fourteen and twenty-two pairs total. The Amazon Basics organizer has 24 pockets. If you are a household of two with more than twenty-two pairs, you need to decide now what goes in the organizer versus what goes in bedroom closets, or you will reload the floor pile within a week.
Sort into three groups. Group one is shoes you reach for at least once a week: daily sneakers, work shoes, current-season flats or boots. These live in the organizer. Group two is shoes you wear monthly, maybe for a specific activity: hiking boots, dress shoes, rain boots. These can go on a high shelf or in a box under the bed. Group three is shoes you have not touched in six months. Bag those for donation now, before they go back on the floor. The audit takes ten minutes and is the only reason the system holds longer than two weeks.
Step 2: Pick the Right Door and Measure the Gap
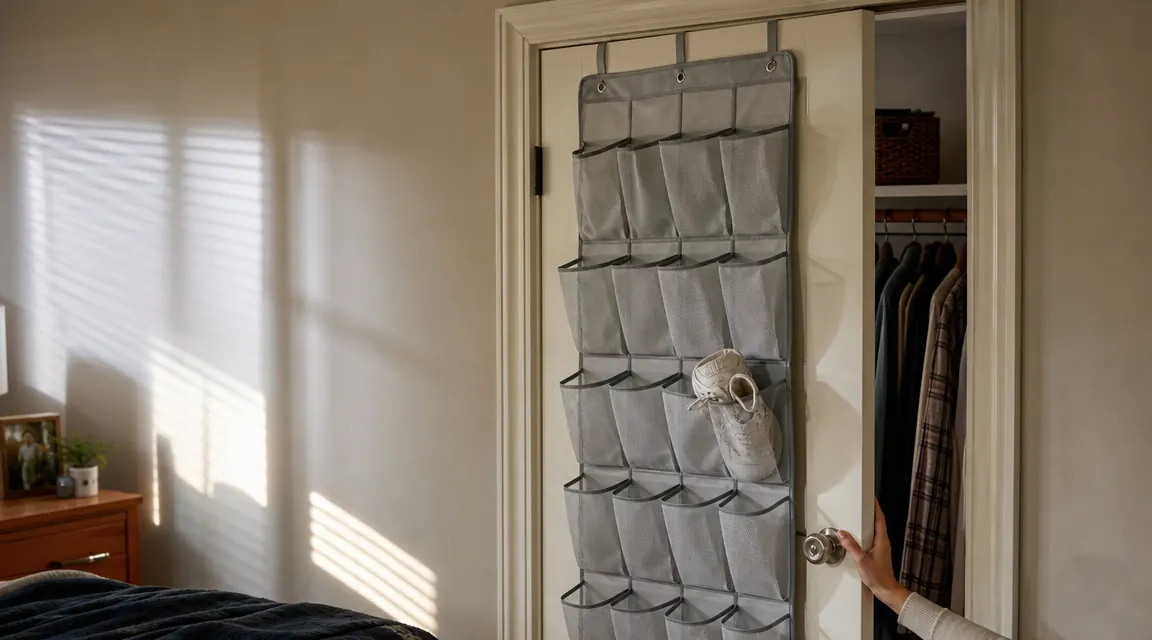
The Amazon Basics organizer hangs on two metal hooks that loop over the top of the door. The hooks work on doors up to 1.75 inches thick, which covers nearly every standard hollow-core interior door in apartments built in the last forty years. What you need to check is the clearance between the door and the door frame on the hinge side. The organizer hangs on the front or back face of the door and sits flush, but it adds about 0.75 inches of depth when the pockets are loaded. If your door swings into a tight corner or hits a wall before it fully opens, the loaded organizer will bang the wall and eventually scuff the paint.
The best door choices, in order: the coat closet door in or near your entryway (ideal, stays closed most of the day), the back face of your front door itself (works if the door swings inward with at least six inches of clearance before hitting the wall or a baseboard), or a bedroom closet door near the entryway. Avoid bathroom doors or any door that swings into a narrow hallway where the loaded pockets would block foot traffic. A closet door is the cleanest option because the organizer stays hidden when guests arrive, which is half the reason people actually maintain it.
Step 3: Install the Organizer in Under Two Minutes
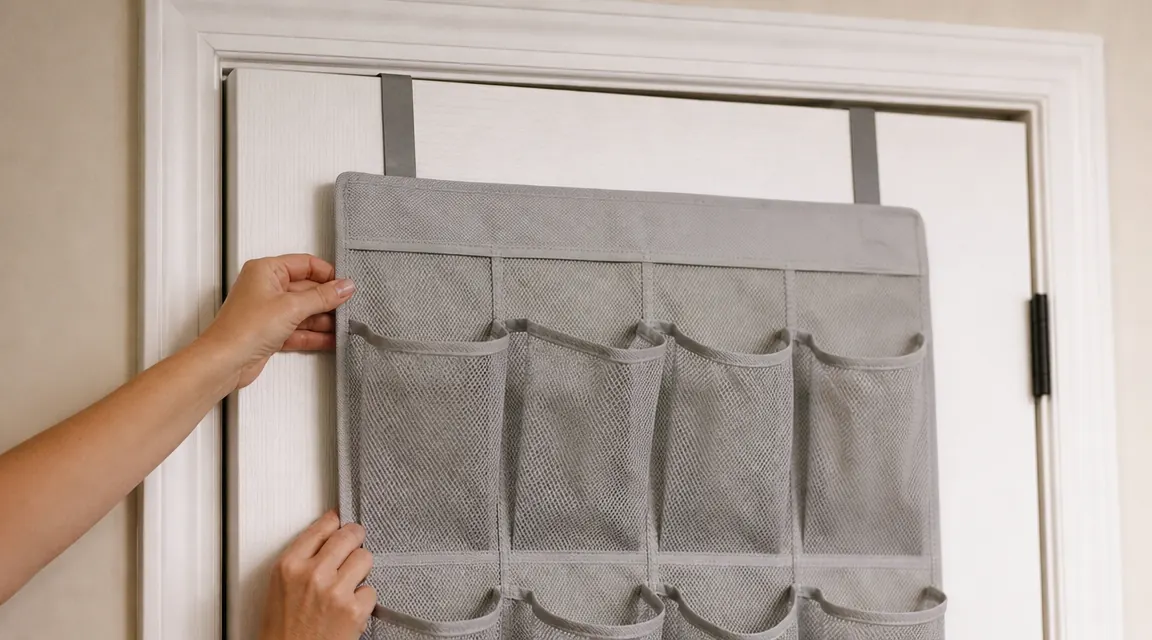
Take the organizer out of the bag and locate the two metal hook bars at the top. Drape them over the top edge of the door so the organizer hangs on the side you want (typically the back face of a closet door, facing inward). The hooks have a small rubber or plastic pad on the section that presses against the door face. This pad is doing real work: it keeps the organizer from sliding side to side and prevents the metal from scratching the door surface. Press the hooks firmly down until they sit flat on both the top edge and the door face.
Open and close the door slowly twice to check clearance. The loaded organizer will sit about 0.75 to 1 inch off the door face. If the door frame is close, watch whether the pockets drag on the frame as the door swings. Most standard interior door frames have a 1.5-inch stop molding, which gives enough room. If you hear scraping, slide the organizer slightly toward the hinge side rather than the handle side, which usually clears the interference. That is genuinely the entire installation. No screws, no anchors, no measuring tape needed.
Step 4: Load the Pockets With a System, Not Just Randomly
The 24 pockets on the Amazon Basics organizer are medium-sized mesh, each about 6 inches wide and 5 inches tall. Most adult sneakers up to a size 11 fit in one pocket. Flats, sandals, and kids' shoes fit one-per-pocket easily. Bulkier shoes like high-top boots or thick-soled sneakers may need one pocket per shoe rather than one per pair, which effectively cuts your capacity to twelve pairs. Measure the widest part of your bulkiest shoes before you decide how many pairs you can fit comfortably.
Load from top to bottom in frequency order: most-used shoes at eye level in the top three rows, seasonal or less-frequent shoes in the bottom two rows. Put heavier shoes in the middle rows, not the bottom, so the weight is evenly distributed across the hook bar. A bottom-heavy organizer will tilt forward slightly and the pockets will start to sag after a few weeks. I keep my daily walking shoes in row two, my partner's daily sneakers in row three, and the flats and sandals we rotate in rows four and five. Row one is where I stuff the shoes I am actively drying after a rainy walk.
The organizer has 32,000 Amazon reviews for a reason. It is not complicated. It just moves shoes off the floor and onto a surface you were already wasting.
Step 5: Build the Two-Second Habit That Makes This Permanent
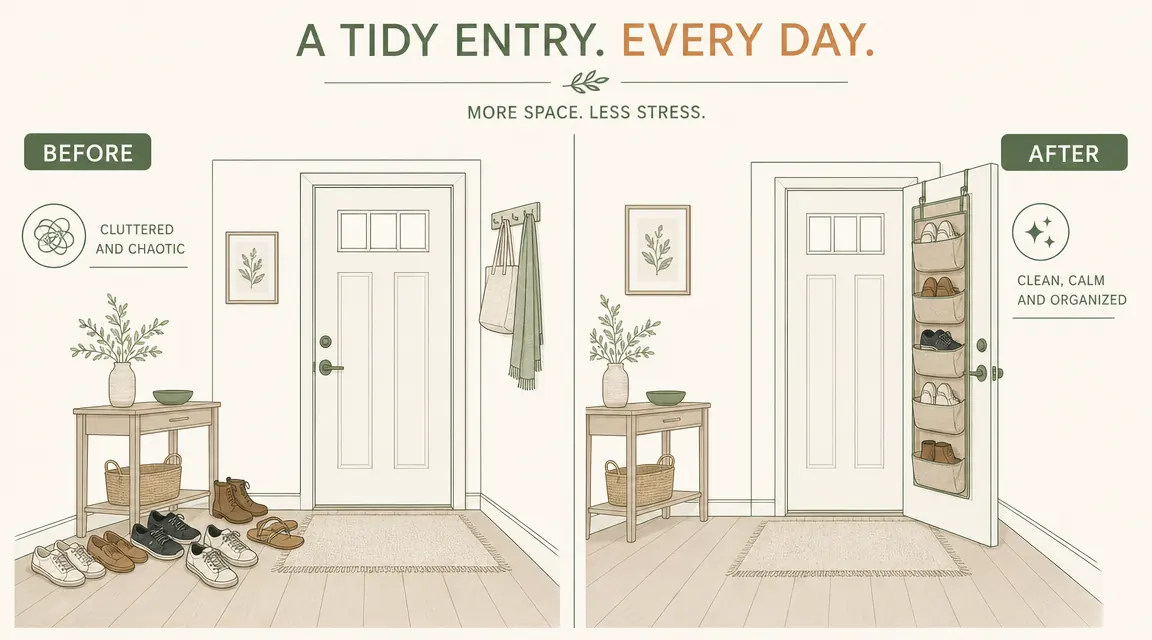
The organizer only works if shoes go in it instead of the floor. That sounds obvious, but every floor-rack and cubby system I have tried failed because the return action was too slow or too far from the door. The over-door location wins here because it is literally the first thing you pass when you come inside and kick off your shoes. The action is: kick off shoe, pick it up, slide it into the nearest open pocket. Three seconds per shoe. That is the whole habit.
Two things that break the habit and how to prevent them. First, pockets that are always full. If the organizer is at capacity and someone brings home a new pair, the path of least resistance is the floor. Enforce your twenty-pair maximum from the audit. Second, shoes that do not fit the pockets, usually tall boots or ski boots. Keep a single wicker basket or fabric bin near the door specifically for the outliers. One small bin for the exceptions keeps the main organizer from overflowing.
What Else Helps Keep the Entryway Clear
A shoe organizer handles the shoes, but entryway clutter is usually also bags, umbrellas, and coats. If your entryway has no hooks at all, a freestanding hook rack with a narrow footprint is a renter-safe addition that does not require drilling. Place it on the same wall as the door so it becomes part of the same entry ritual. Umbrella: hook. Bag: hook. Jacket: hook. Shoes: organizer. A four-part entry routine that takes less than twenty seconds is sustainable. A complicated system with a dedicated shelf, a tray, a rack, and a basket is usually abandoned by day four.
For apartments with no closet near the front door, the back of the front door itself is your best option. The Amazon Basics organizer fits doors that swing inward with at least six inches of clearance before hitting the wall. If your front door swings outward (some older buildings) this organizer will not work on the front door, so default to the nearest interior closet door. That configuration works just as well because closets are almost always within five feet of a standard apartment entry.
One thing to skip: floor shoe racks in small entryways. I have bought four of them across different apartments and returned or donated every one. A twelve-pair floor rack is roughly 23 inches wide and 11 inches deep. In a four-foot entryway that is a meaningful chunk of floor that makes the space feel immediately cramped. The over-door organizer uses zero floor space and zero wall space. That difference is not marginal in a tight rental. It is the entire reason this solution works where racks fail.
Also worth noting: the Amazon Basics organizer is not just for shoes. Once you see how easy the system is, it is tempting to repurpose a pocket row for accessories like sunglasses cases, dog leashes, or small umbrellas. I keep the bottom four pockets on my organizer empty and use them for those odds-and-ends, which means they are no longer living in a bowl on the counter. The organizer is rated for the weight it was designed for (shoes), so as long as you are not stuffing rocks into it, the additional use holds up fine.
Clear your entryway floor for good, no drilling required
The Amazon Basics 24-pocket over-door shoe organizer has over 32,000 reviews and costs less than most lunch orders. It fits standard interior doors with no tools, no wall anchors, and no damage to your deposit.
Amazon Check Today's Price on Amazon →