
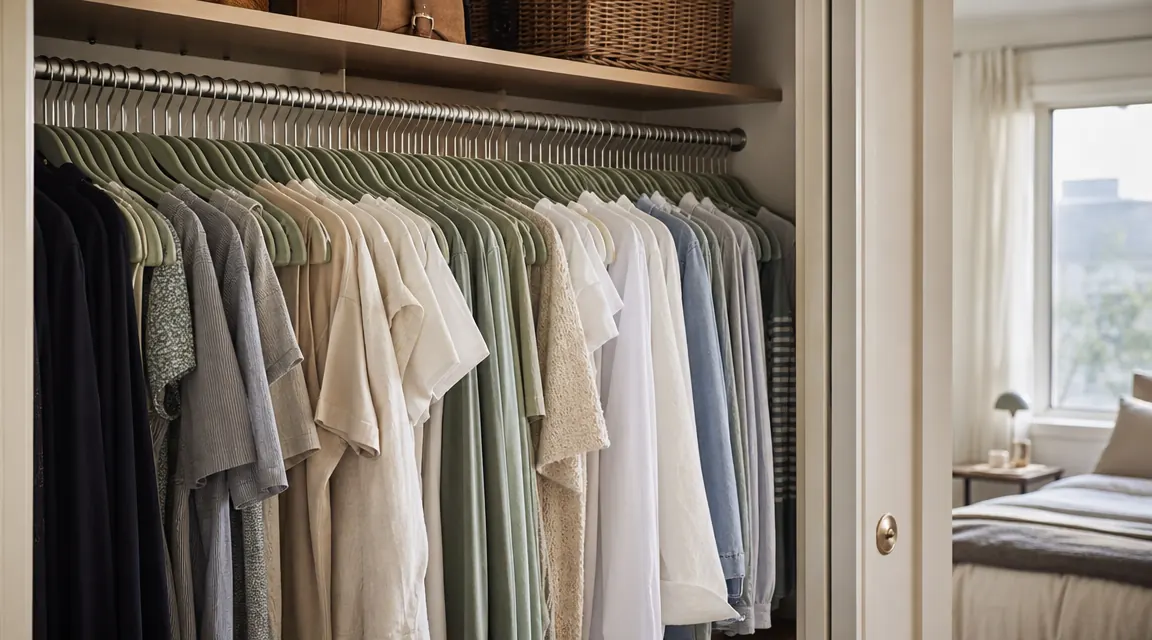
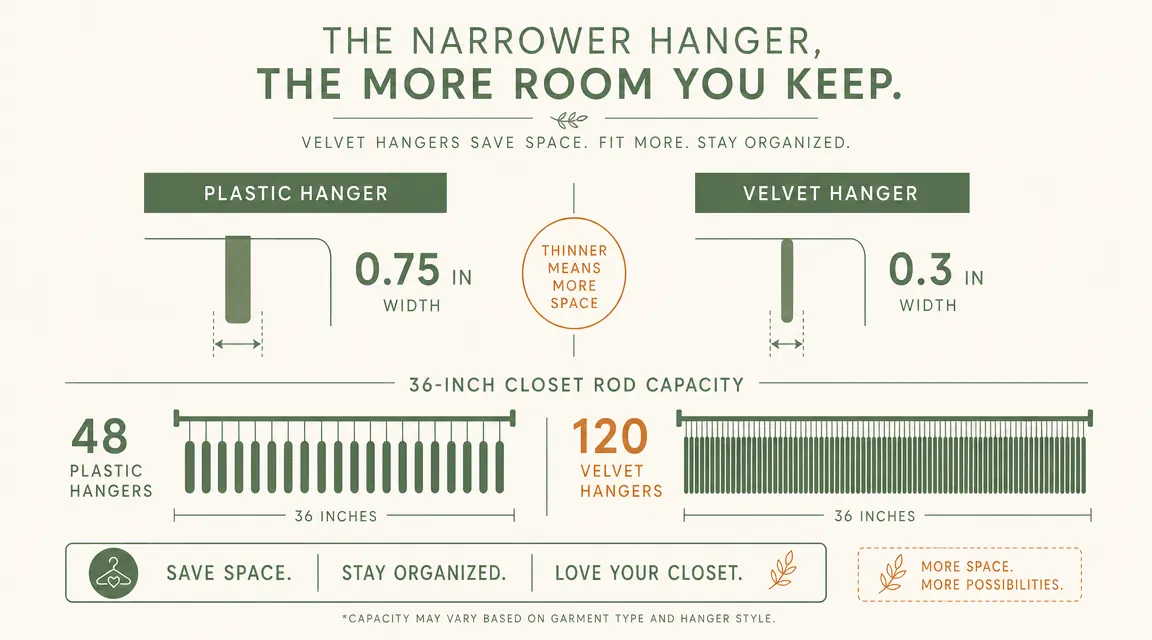
My bedroom closet in my third apartment had 36 inches of hanging rod and felt permanently full. I had about 40 garments on it and I could not slide anything without wrestling the whole rod. The clothes were not the problem. The hangers were. Standard plastic hangers run 0.75 inches thick at the shoulder. Velvet hangers clock in at 0.3 inches. On a 36-inch rod that difference translates to roughly 48 plastic hangers versus 120 velvet hangers before the rod bows. I did not need a bigger closet. I needed to stop wasting 60 percent of every inch of rod on air and plastic.
This is a one-afternoon project. You do not need a drill, a shelf, or a landlord's permission. You need a box of velvet hangers, about 90 minutes, and a willingness to pull every single item off the rod before you start. I have done this exact swap in four different closets, the most recent being a 42-inch double-rod closet in a 600-square-foot apartment. Here is exactly how I do it.
Your closet rod has space you are not using yet , velvet hangers are the reason
Our Modern Space velvet hangers come in a 100-pack with shoulder grooves, non-slip flocking, and rotating hooks. One box handles a standard apartment closet completely. Rated 4.7 stars from over 1,000 owners.
Amazon Check Today's Price on Amazon →Step 1: Pull Everything Off the Rod and Pile It on the Bed
Do not try to do this item by item. That approach leads to half-finished closets and hangers all over the floor. Clear the entire rod in one pass. Every garment goes onto the bed. Every hanger goes into a trash bag or a box , you are donating or tossing all of them. Do not save even one bulky plastic hanger to use later. Mixing hanger widths defeats the whole purpose, because a single 0.75-inch hanger inserted between 0.3-inch velvet ones creates a visual gap that breaks your spacing and, more practically, makes that section feel crowded again.
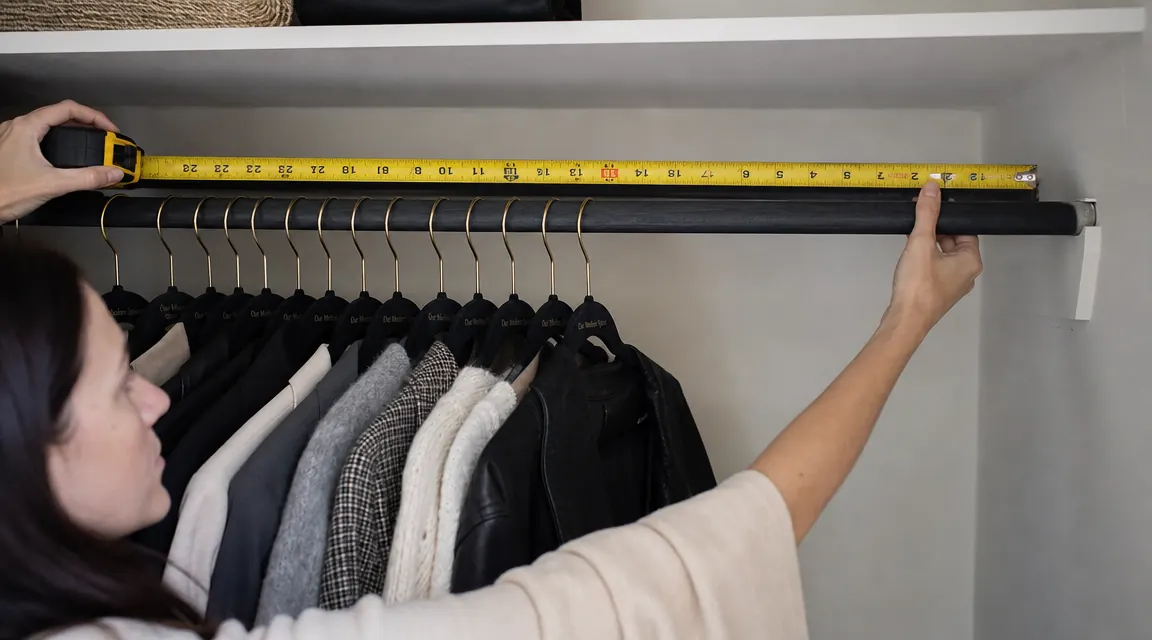
While the rod is completely bare, wipe it down with a damp cloth. Dust and deodorant residue accumulate on hanging rods faster than you think, and a clean rod is noticeably easier to slide hangers on. This takes two minutes and you will be glad you did it. If your rod has any warped spots or sags at the center, now is the time to notice. A rod that sags more than half an inch at center needs a center support bracket before you reload it , a loaded rod with 80 velvet hangers still weighs 12 to 18 pounds, and a failing rod means starting over.
Sort the pile on the bed into three groups: keep, donate, trash. Be honest. If you have not worn something in 14 months, the odds you will wear it next month are close to zero. A 36-inch rod genuinely needs 40 to 50 garments maximum to stay accessible. More than that and you will dig every time you want something, even with slim hangers. The space savings velvet hangers give you are real, but they work best when you are not trying to pack 80 items onto a rod designed for 60.
Step 2: Count Your Keeps and Order the Right Number of Hangers
Count the items in your keep pile. Add 15 percent to that number for breathing room. A 40-item wardrobe needs roughly 46 hangers. If you are doing a double rod or a walk-in with two hanging sections, count each section separately. Our Modern Space sells a 100-pack, which covers a standard single closet and a second small section with room to spare. If you are outfitting a walk-in with two 48-inch rods, order two boxes.
Check whether you have any pants or skirts that need clips. The Our Modern Space pack includes hangers with shoulder grooves for shirts, dresses, and jackets. If you have dress pants or skirts, you will need a separate set of clip hangers. Order those at the same time so you have everything before you start Step 3. Running out of hangers halfway through is the most common reason this project stalls and the pile on the bed stays there overnight.
Step 3: Hang Garments in Category Blocks, Heaviest Items First
Start with the heaviest category: coats, blazers, or any structured jackets. These go at one end of the rod. Heaviest items at the end of the rod (near the wall bracket, not the center) distributes weight more evenly and prevents center sag. Velvet hangers are strong for their size but the rod itself is the limiting factor, and front-loading the center is how rods fail.
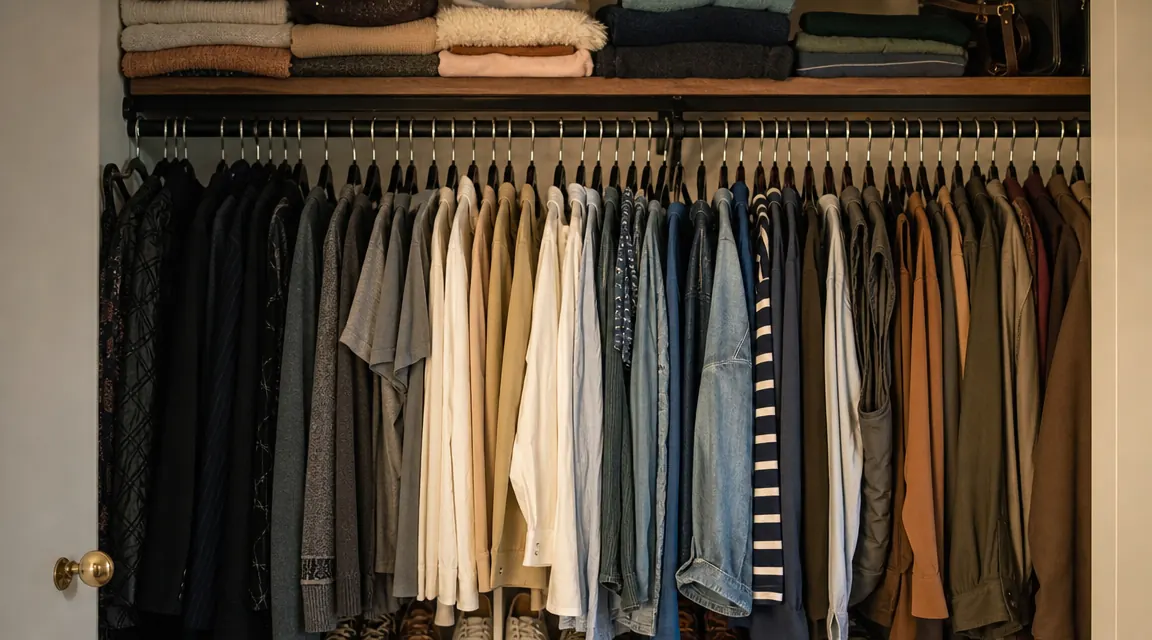
Work outward in category blocks: jackets and blazers, then dresses, then long shirts and blouses, then short shirts and tees, then pants. Within each block, arrange loosely by color from dark to light. You do not need to be precise. The goal is that every category has a visible zone and you can find things in three seconds without pulling neighbors off the rod. Keep a consistent spacing of about half an inch between each hanger. The velvet flocking holds garments in place so you do not need to jam them together, and half-inch spacing means clothes stay unwrinkled.
Fold anything that does not need to hang. T-shirts, jeans, workout gear, and sweaters all hang better on shelves or in drawers than on rods. Hanging knitwear specifically will stretch the shoulders over time regardless of which hanger you use. If your closet has a shelf above the rod, folded items live there. If it only has the rod, get a small set of shelf dividers or a hanging fabric organizer for foldables. This is how you prevent the rod from becoming a dumping ground for everything in the room.
Step 4: Set the Hook Direction and Adjust Rotating Hooks
Our Modern Space velvet hangers have rotating hooks, which sounds like a minor detail until you try to use a non-rotating hook in a closet where you have to reach in at an angle. Set every hook to face the same direction before loading the garment. The standard for most closets is hook opening facing out, so you can remove items from the front by pulling straight forward. If your closet door is to the side and you access the rod from the side, rotate the hooks 90 degrees to face the door. Uniform hook direction is what makes a closet feel intentional rather than just random.
After loading all the garments, do a quick straighten pass. Stand in front of the rod and look at the spacing. You want a visible gap between each hanger rather than a solid wall of fabric. If you see two sections smashed together, spread them out. The velvet will do its job and clothes will not migrate the way they do on plastic, so whatever spacing you set now will largely hold.
Step 5: Build One Habit to Keep the Closet from Reverting
The swap-out only lasts if you have a rule for what happens to clean laundry. The failure mode is simple: you do the swap, love how it looks, then a week later a pile of clean clothes lands on the bed because putting them away feels like effort and the closet is now too nice to dig through. Two rules prevent this. First, keep a small section of empty hangers at one end of the rod, maybe five to ten of them. When laundry is done, grab a hanger and hang it immediately. Empty hangers at the ready remove the friction of having to find one. Second, put a small donation bag on the shelf above or on a hook inside the closet door. When something does not fit or you have not worn it in a season, it goes in the bag instead of back on the rod.
I have had closets stay organized for 18 months with just these two habits. The velvet hangers do the physical work of keeping things in place. The habits prevent the accumulation that would overwhelm even the best system. This is also why it matters to start with a purge: you are not just moving things around, you are resetting the volume of the closet to something the space can actually maintain.
On a 36-inch rod, switching from plastic to velvet hangers recovered 14 inches of usable space. That is room for 19 more garments on the same rod, in the same closet, without moving a single shelf.
What Else Helps Once the Hangers Are Done
Velvet hangers solve the rod capacity problem. They do not solve the floor pile, the shelf avalanche, or the 40 pairs of shoes stuffed into the corner. Once the rod is done, the next highest-impact upgrade for most apartment closets is the shelf above the rod. If you have a single shelf, add a second layer with a freestanding shelf riser or a hanging shelf organizer that drops below the main shelf. This doubles vertical storage without any drilling. If your closet floor is currently holding shoes, a shoe rack or an over-door shoe organizer clears the floor entirely and makes the closet feel twice as large even though the footprint did not change.
For a full rundown on the space savings math and what these hangers do over months of actual use, see my long-term review at the link below. And if you are trying to decide whether to switch the entire closet at once or just start with one rod, the 10 reasons piece covers that decision in detail.
Internal links: [Six months of real use in a small apartment closet](velvet-hangers-review-long-term) | [10 reasons velvet hangers outperform plastic in a typical closet](10-reasons-velvet-hangers-transform-closet)
One 100-pack covers a full apartment closet , and the before/after difference is immediate
Our Modern Space velvet hangers are slim at 0.3 inches, non-slip, and come with rotating hooks. 4.7 stars from over 1,000 buyers. One afternoon is all it takes to see the difference on your own rod.
Amazon Check Today's Price on Amazon →